BREAK!
I first had the idea for this project back in 2019. I built an early prototype on a breadboard and became so engrossed in it that I ended up using it for about a year without ever making a proper enclosure for it. Ultimately, I never fully finished the project and it gradually faded into the background.
The concept
When you enter a state of deep focus, it’s easy to lose track of time. Before you know it, you’ve been sitting in front of your computer for hours without even noticing. It’s an amazing experience — sometimes it almost feels like switching dimensions while designing a PCB or working on a new model.
However, it’s not great for your body. It is generally recommended that you take a short break every 30 minutes — at least five minutes to move around and rest your eyes. These small pauses help your brain reset. Your ability to maintain focus naturally declines over time, so stepping away briefly can actually help you to think more clearly when you return.
That said, you don’t need to use this device all the time. If you’re in a flow state and don’t want to interrupt it, then don’t. There are times when I skip the break entirely, for example when I’m brainstorming ideas or writing down concepts. In those moments, I prefer not to break my flow or disrupt my train of thought.
I started this project so many times in the past few months. This version is the fifth. With all the previous approaches, I tried different form factors, displays and user interfaces, but none of them were good or practical enough to be made. Then I realised what I was missing: simplicity. The version I created back in 2019 was extremely simple, and that’s what I needed.
The components
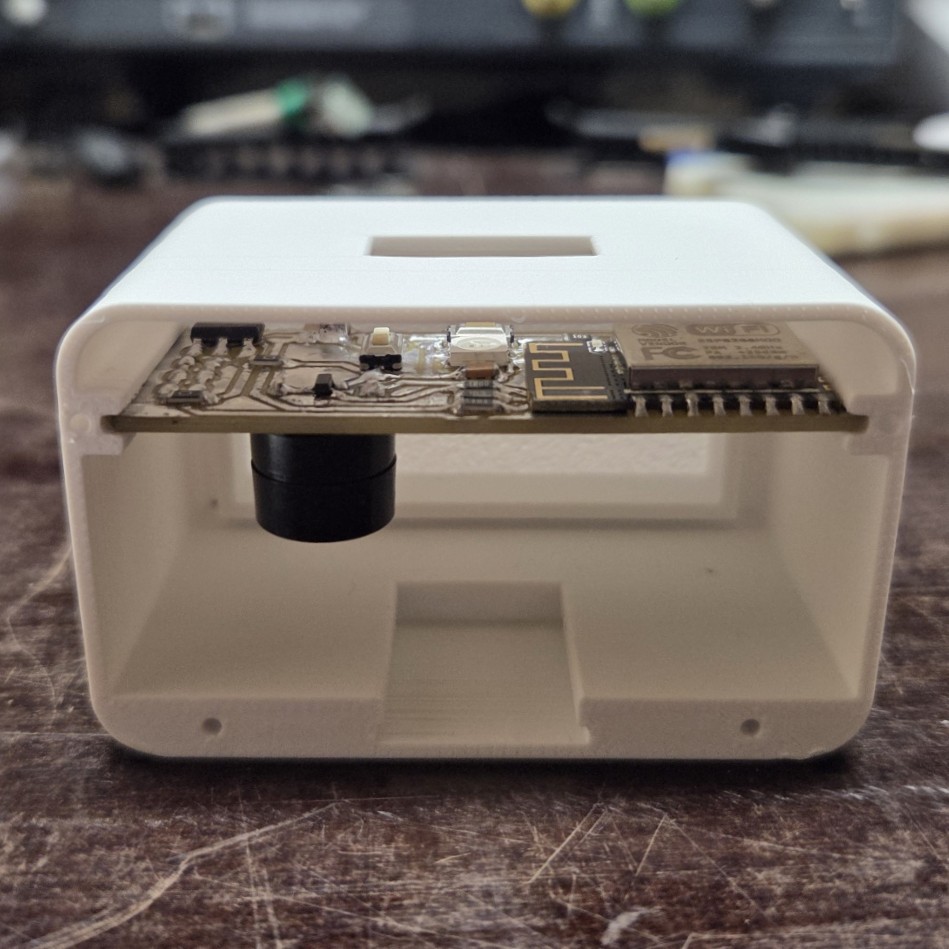
The original plan was to use an ATtiny414, but I eventually opted for an ESP-12F instead. This change means that I can use the same PCB, or even the device itself, to display data from my Home Assistant server, such as the current time or various sensor values.
Display
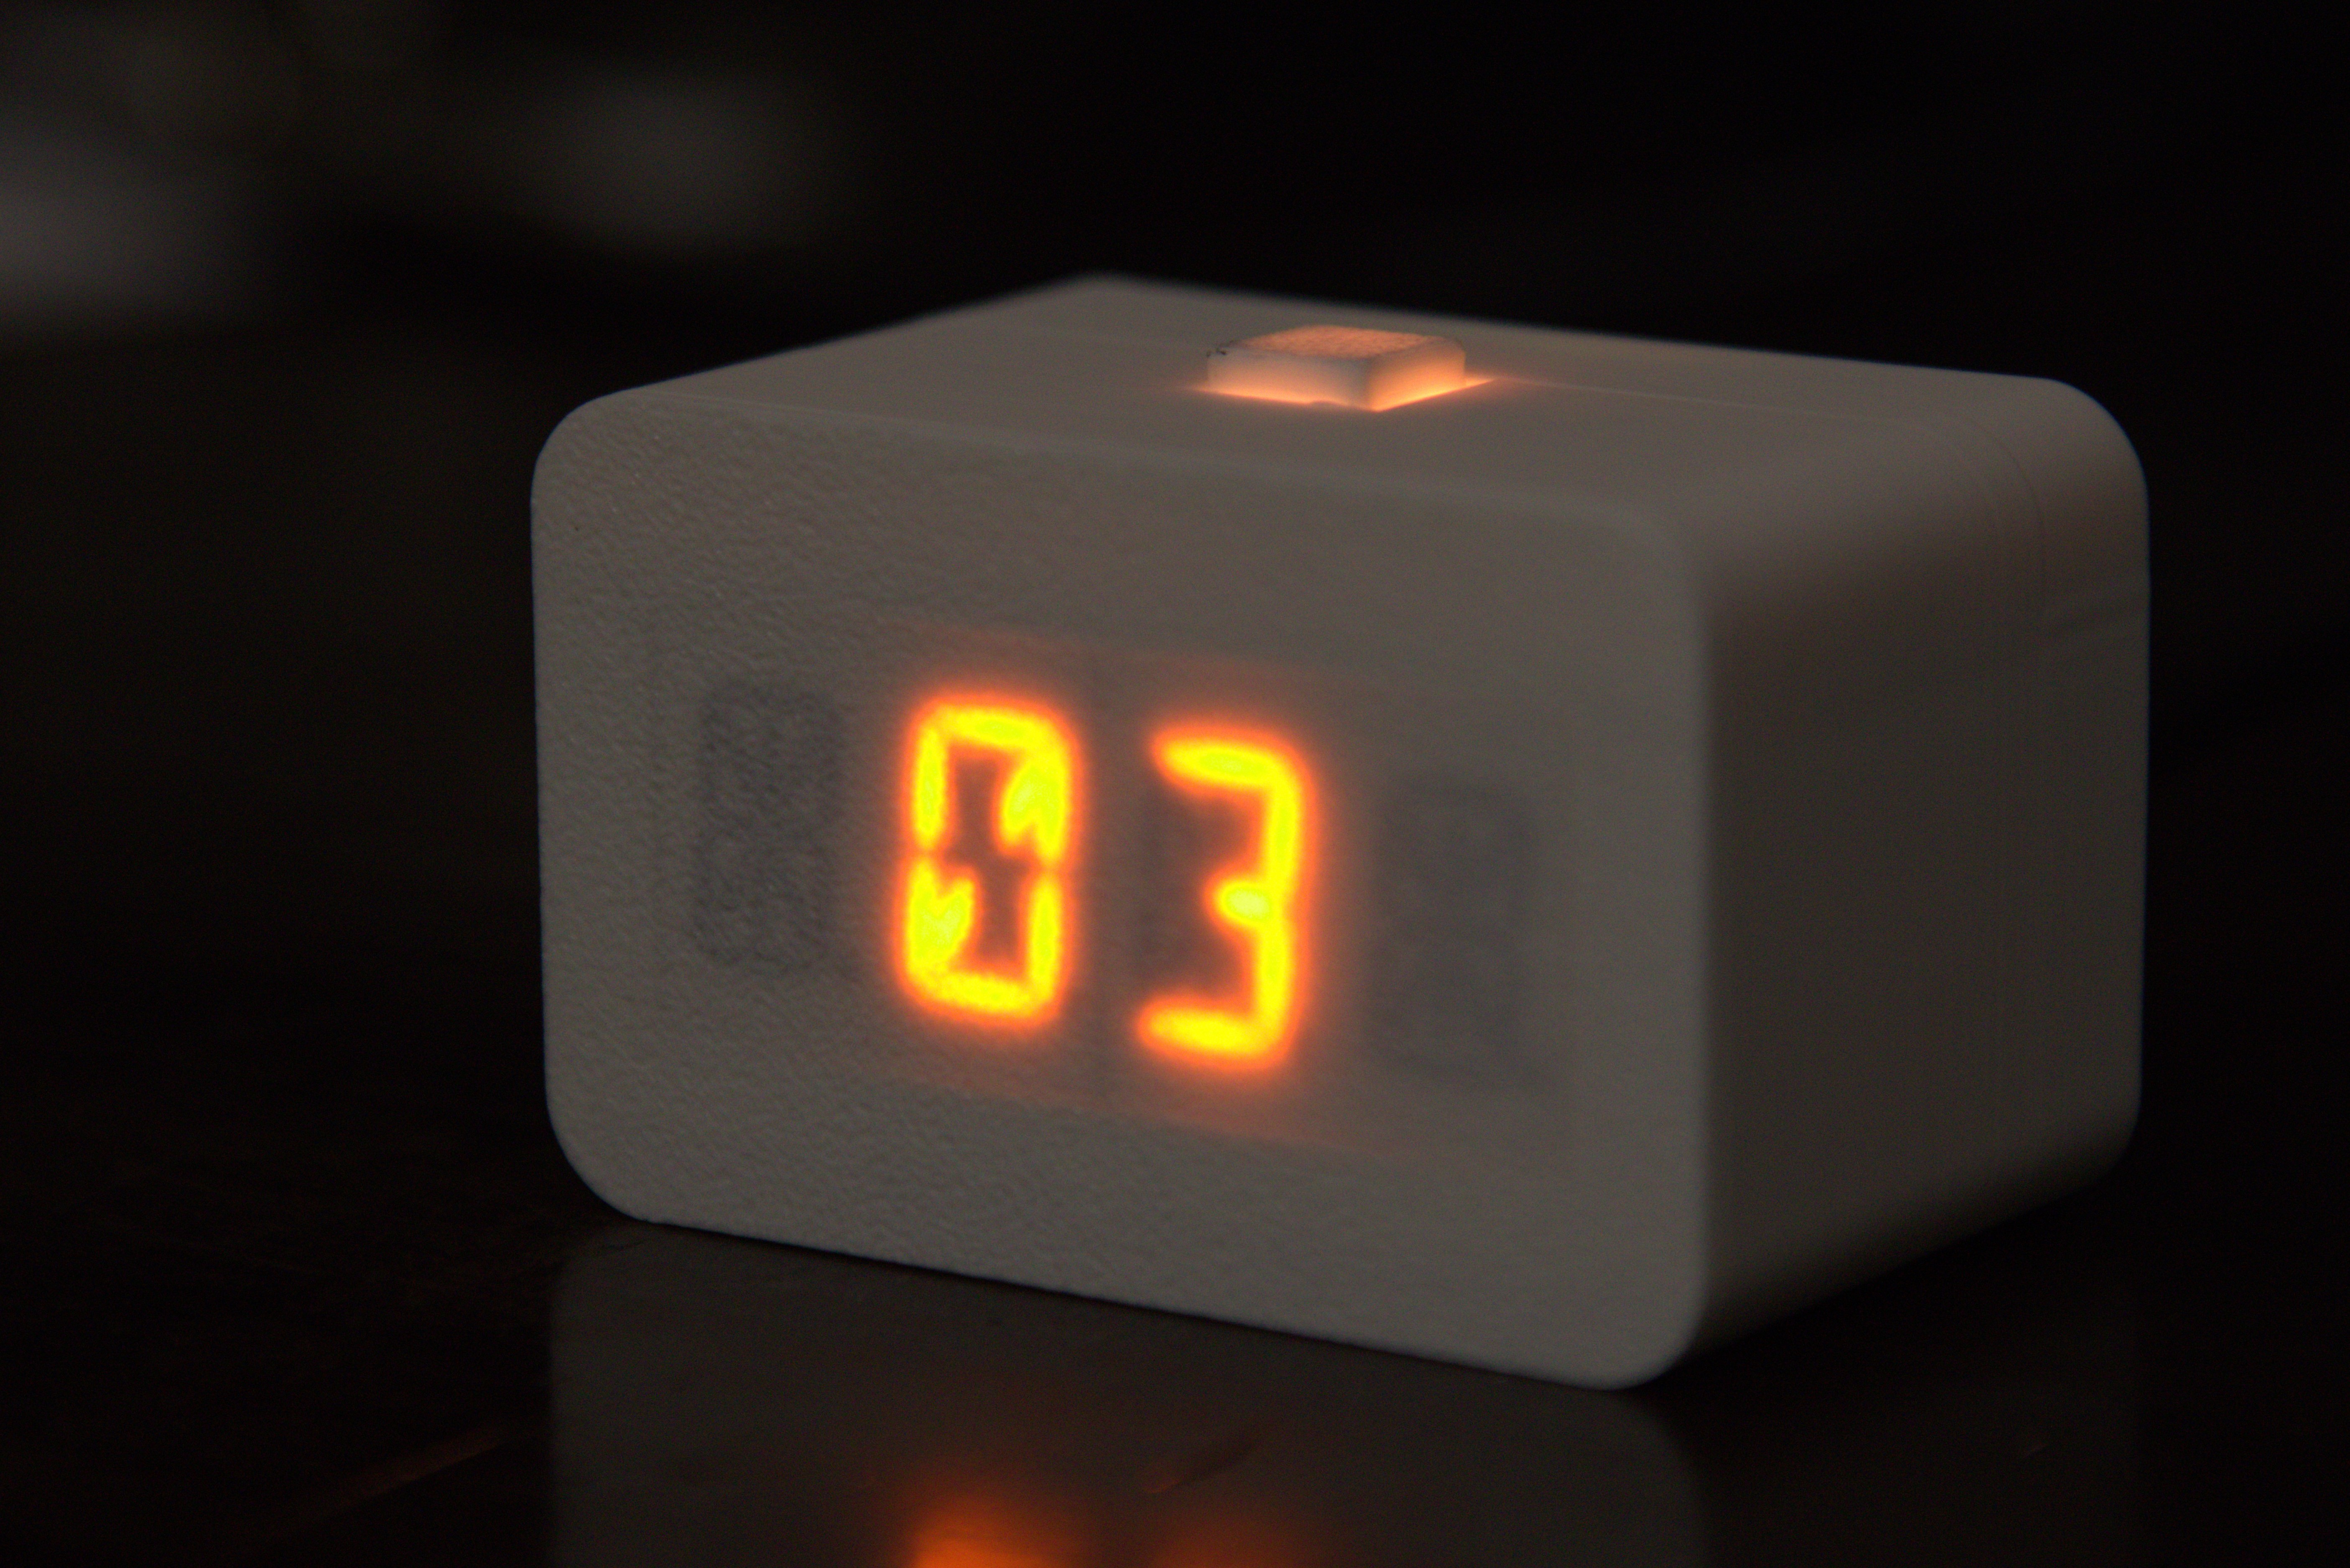
I wanted to keep it simple, so initially I considered using a 7-segment display. However, this felt a bit too basic, so I decided to go for something more eye-catching and unique. I finally settled on a 0.54” 4-digit, 14-segment alphanumeric LED display. I love the look of this display, and it allows me to show letters if needed. It is driven by an HT16K33 controller, which was easy to implement. For simplicity, I tested it with existing Arduino libraries, and they work perfectly.
Build & User Interface
As I mentioned at the beginning, my aim was to create a minimalist design. I wanted to avoid cluttered screens with too much information and menus.
The interface is simple: one click starts a 30-minute focus session and another click starts the rest session once the time is up. The cycle then repeats. You can pause the timer with a single click while it’s running. A long press skips to the end of the session, resetting the timer to zero.
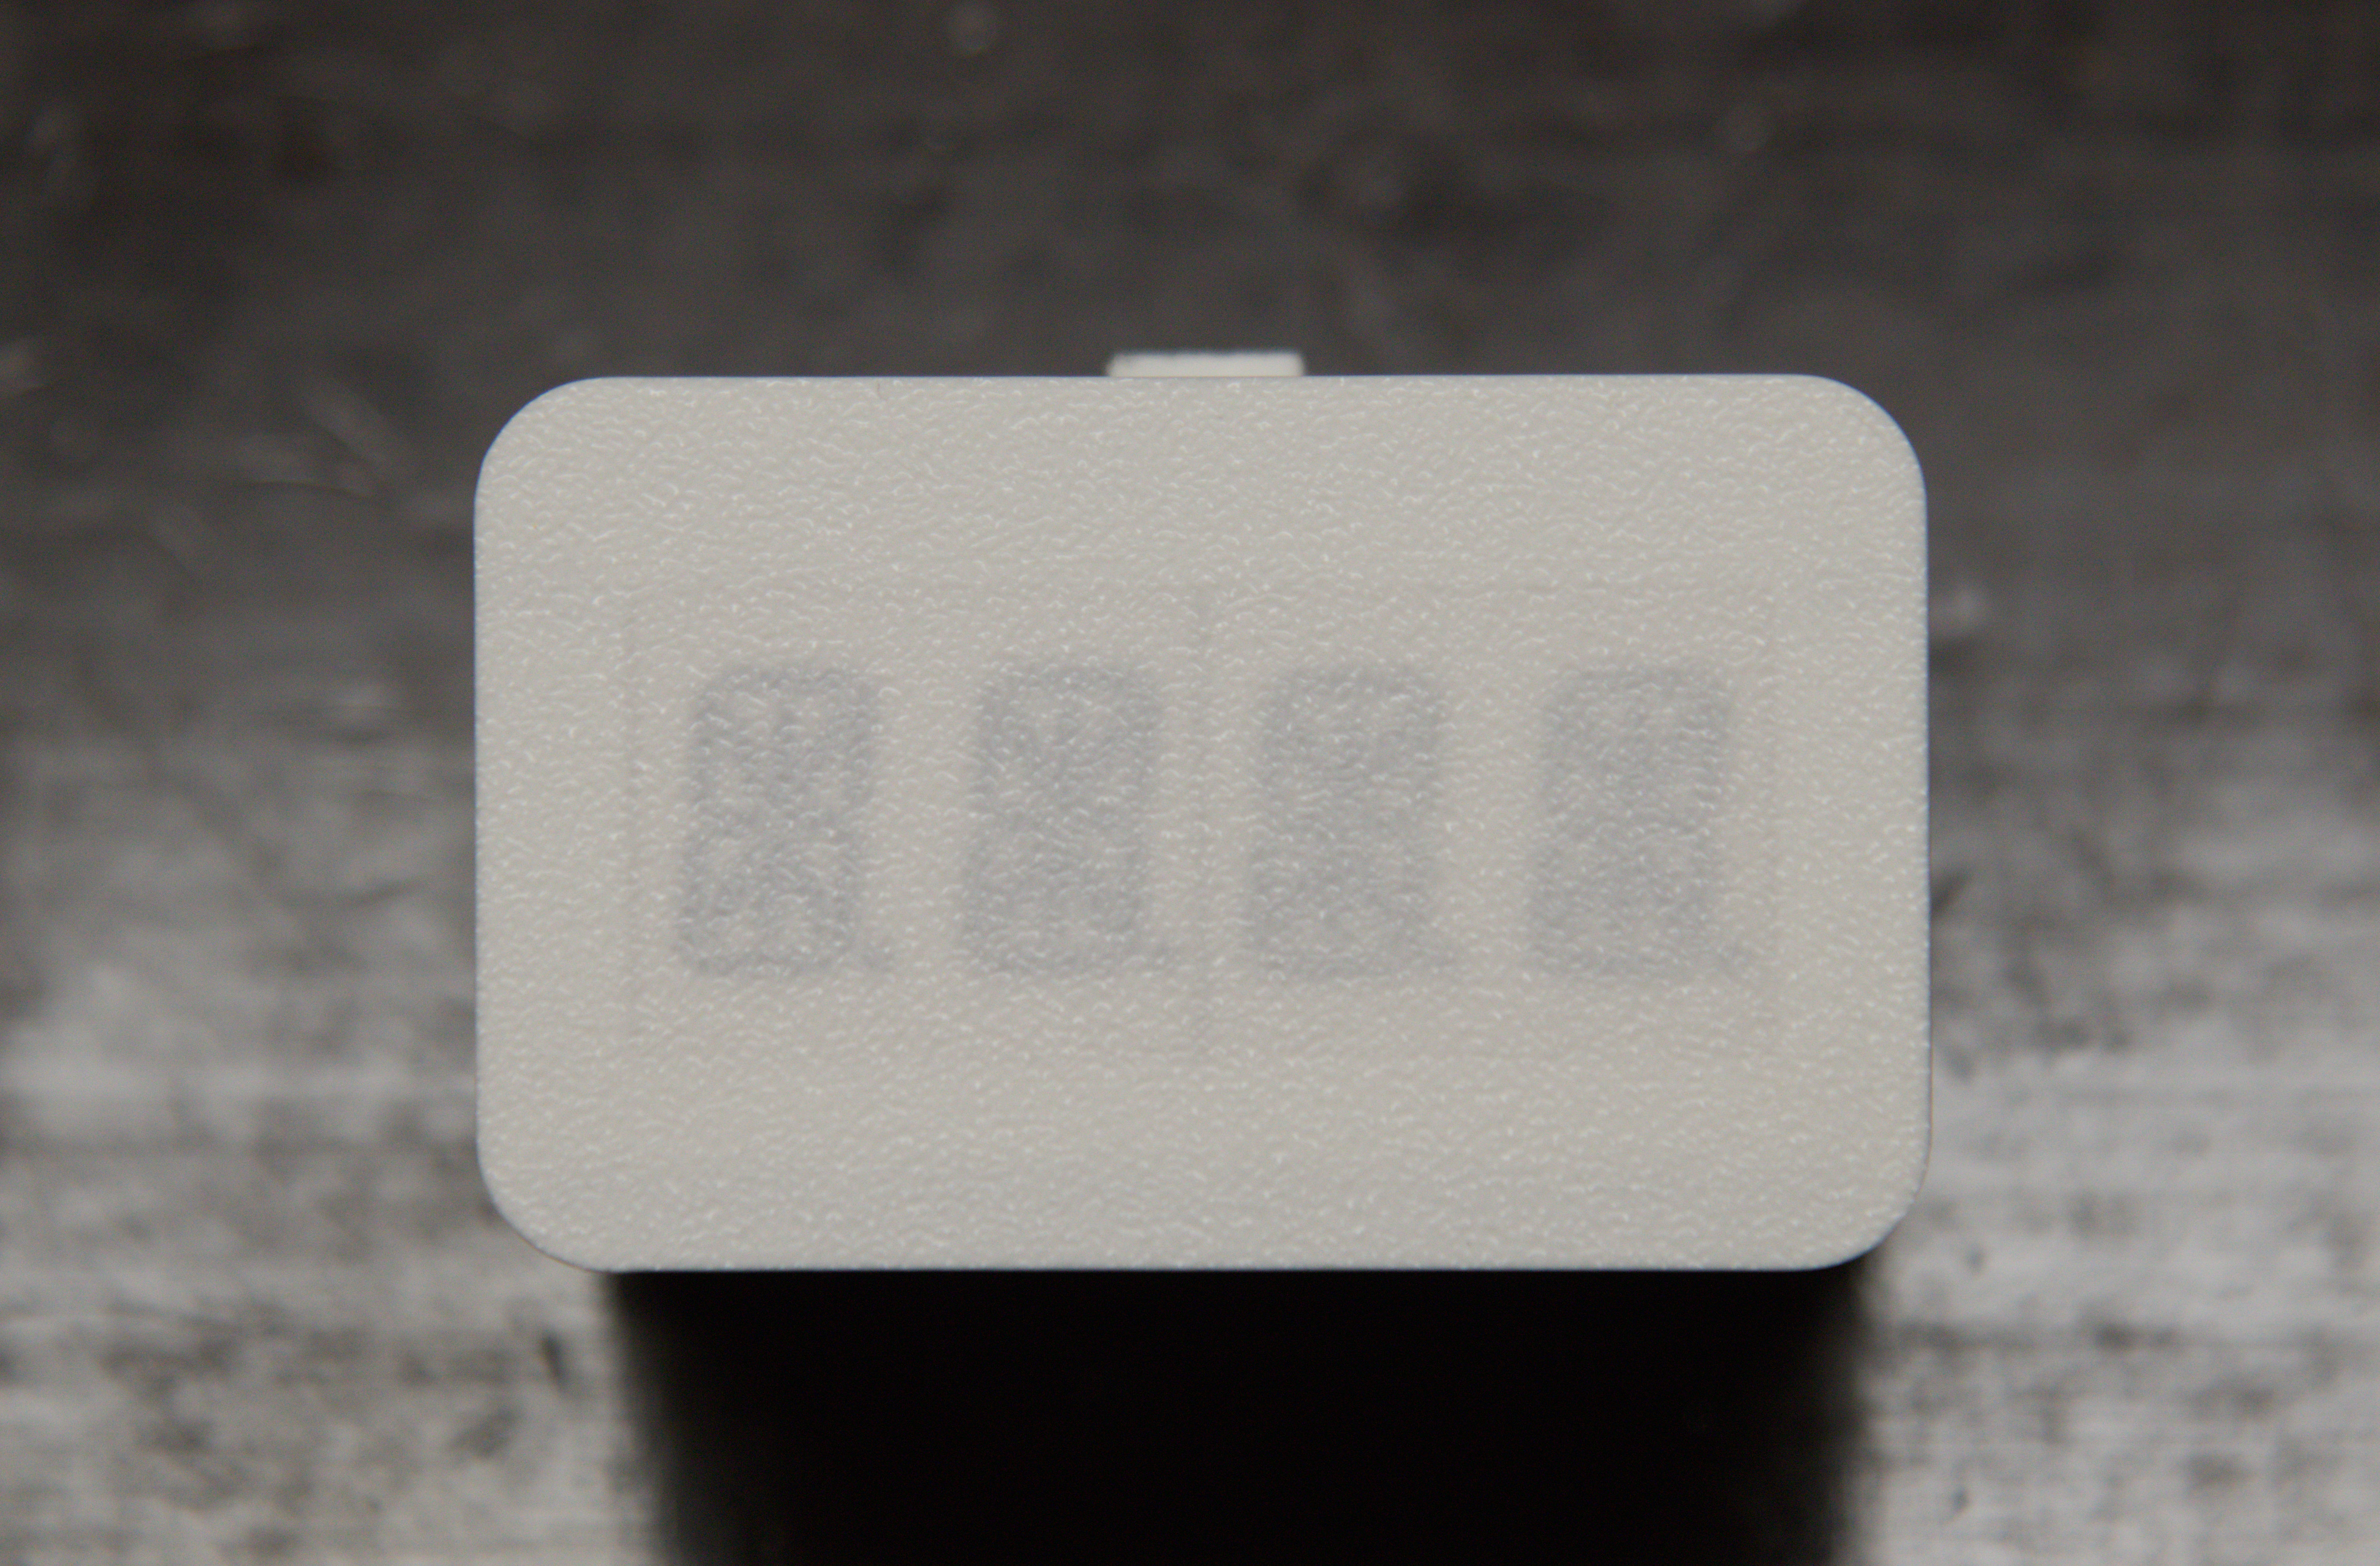
The display sits behind 0.16 mm of PLA, which acts as a diffuser. I have yet to test it with PETG or translucent PLA, but I am planning a ‘Version 2’ in which I will experiment with these materials.
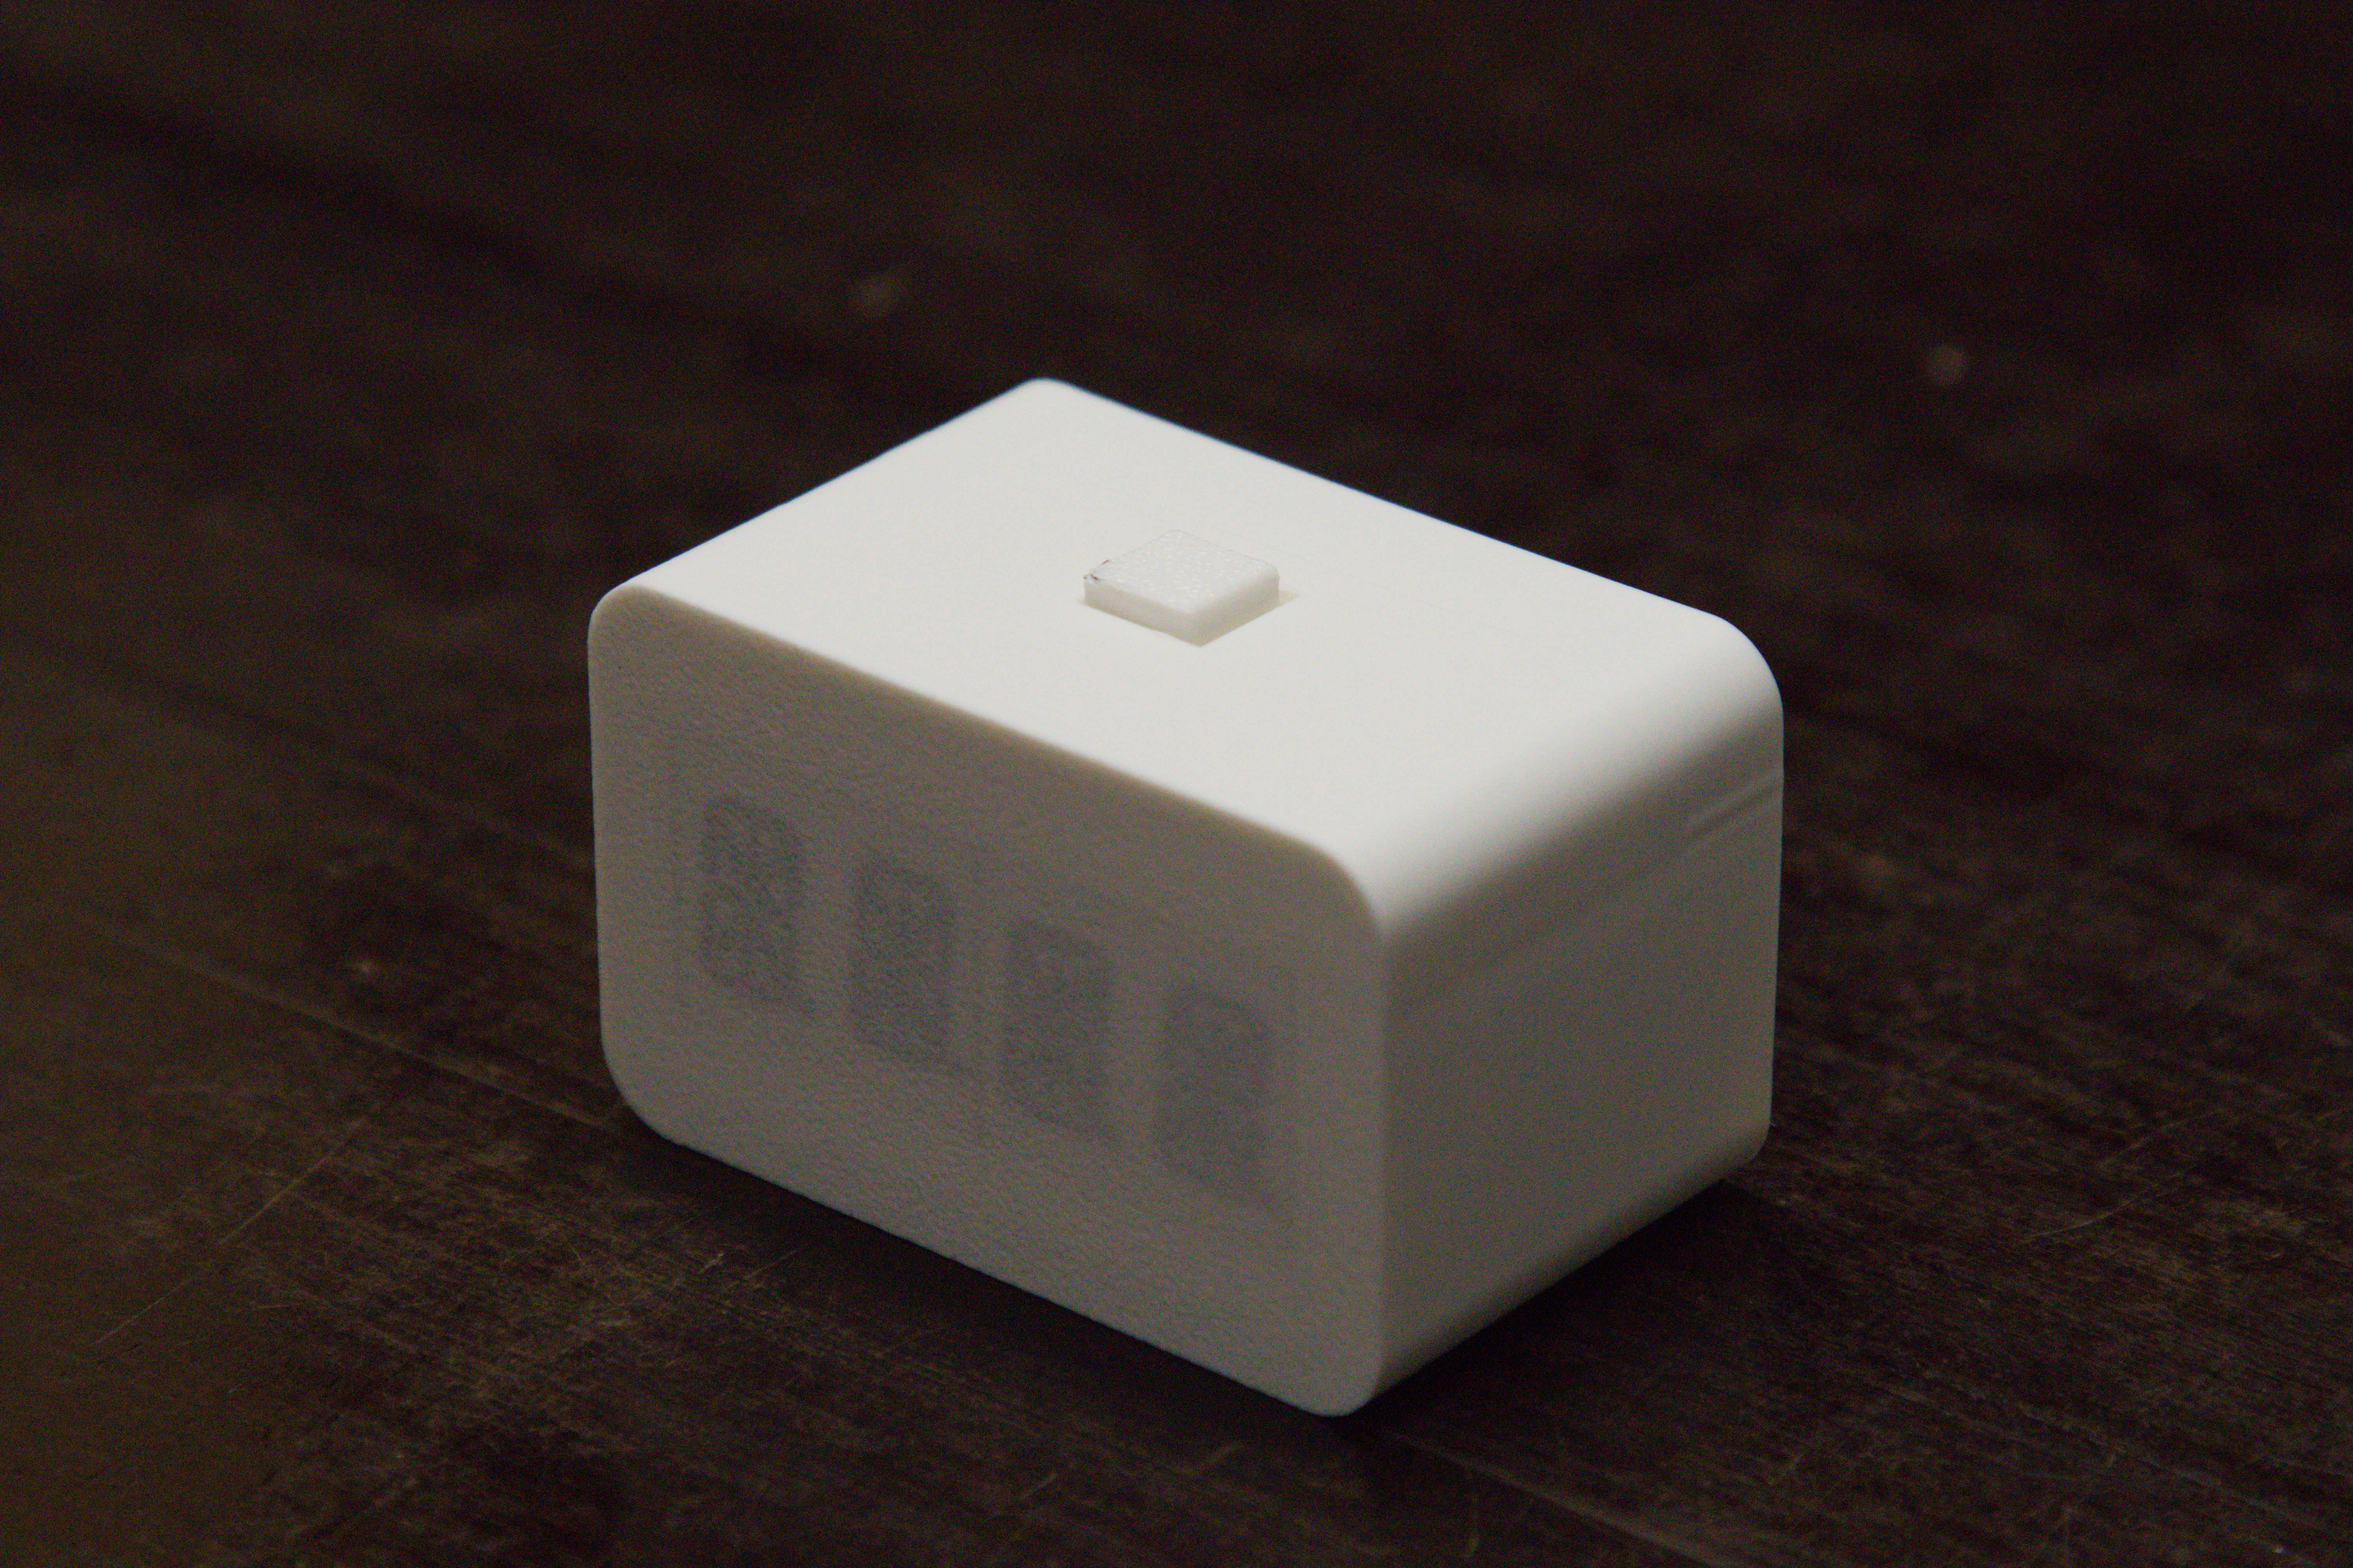
The PCB slides into a slot and is locked in place once the back cover is screwed on. This design made it easy to integrate the button and LED on top — I only needed a precise cut-out and a custom button cap.
Button
I used a standard tactile SMD button. I expected it to have a more satisfying ‘clicky’ feel, but the tactile feedback is a little disappointing. It’s acceptable for the first prototype though. I placed a WS2812B RGB LED directly beneath the button cap to allow it to be illuminated in any colour. By default, it glows orange (to match the display) during focus sessions, switching to green during rest periods.